Thomas A. Edison Career and Technical Eduacation High School
JAUNEL'S WEB DEVELOPMENT TIMELINE
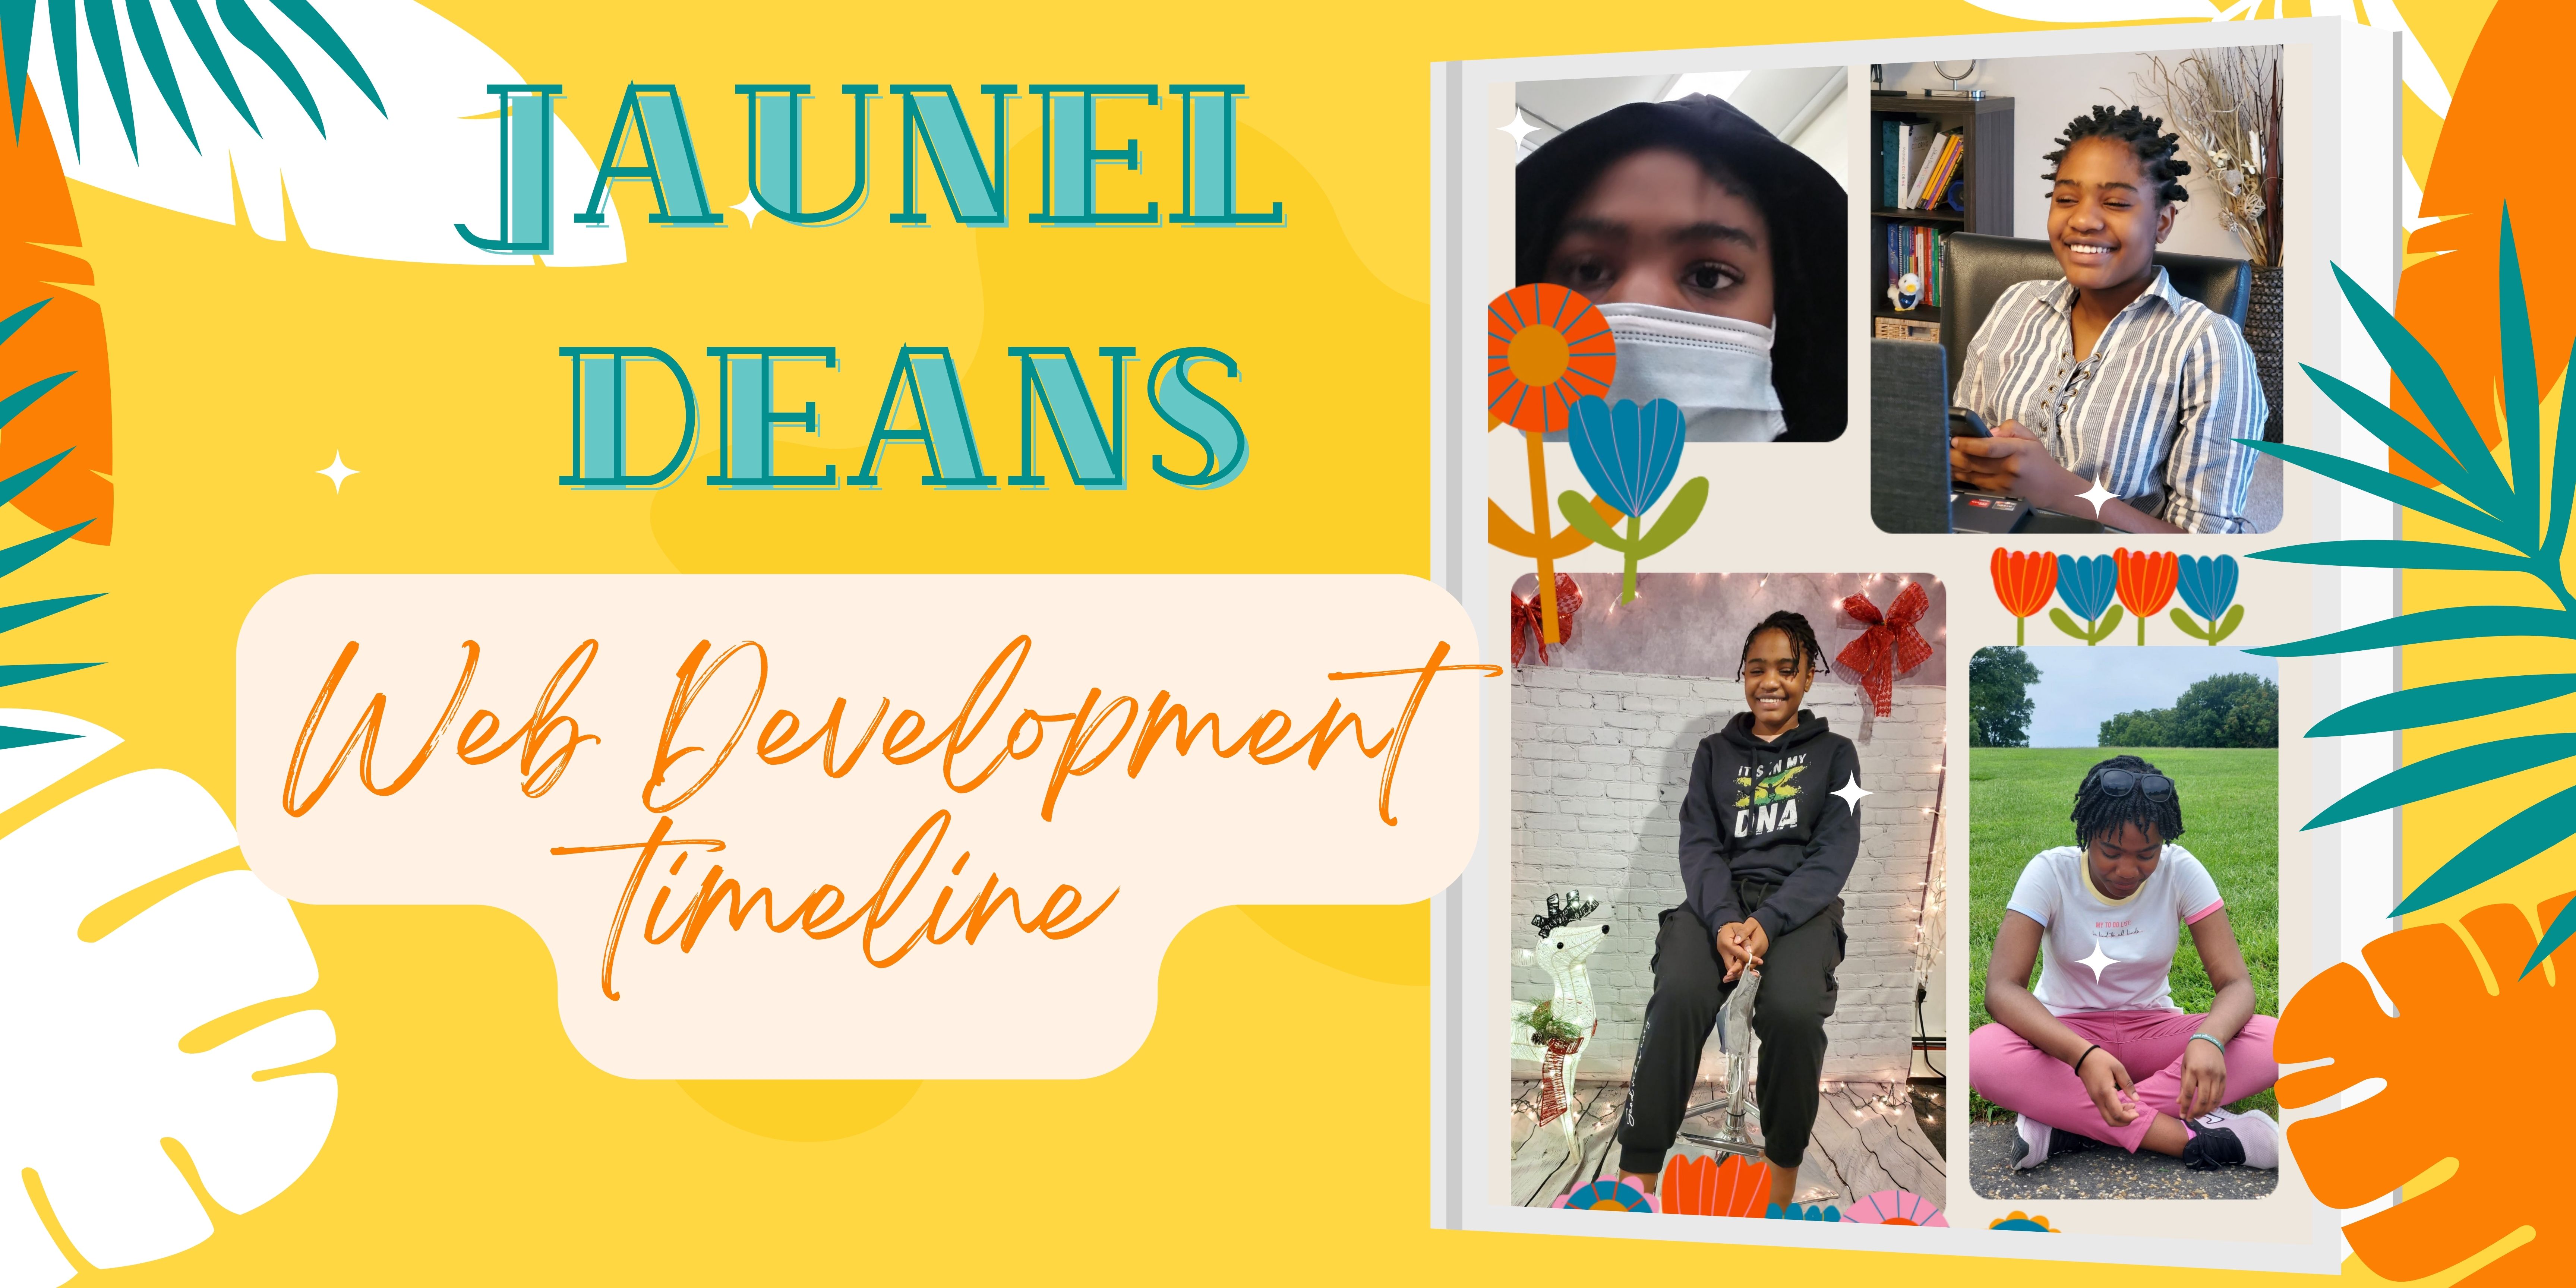
Done by: Jaunel Deans
October 6, 2022
| First day-Introduction | Binary Number/Flippy-Do | Lab 1-Intro to HTML |
|---|---|---|
| On September 8, we were greeted by a lively teacher and a tarp on the classroom floor. She then introduced herself as Ms.Ramirez and tasked the class to flip the tarp as a group without talking or using our hands for the rest of the period. At the end of the exercise, everyone in the class received extra credit. The goal of the class was to introduce the values and morals that come with the class. We are to be a community and build our social capital. | In this series of lessons, we were introduced to the language of computers, binary. Binary code is made up of ones and zeros. We learned how to translate decimal numbers into binary code and vice versa. To do this, we used a Flippy-do to remember the values and the translation method. | Lab 1: Intro to HTML is when we got into coding and were assigned our first lab assignment. In Lab 1 were tasked to Create an HTML file, copy the code on the picture given, and write an All about me paragraph. During this Lab, we learned the basic or backbone elements that are used create a website. |
| Lab 2 Images | Lab 3 Hyperlinks | Lab 4 Table and colors |
|---|---|---|
| In Lab 2, we learned about the element of inserting images into a webpage. The element to insert images was img, but it needs an attribute to work. An attribute provides additional information about elements. The attributes of the image element are src, alt, and width. Src specifies the path to the image to be displayed. Alt is the alternate name for the image, and width specifies the image's width and height in pixels. | In Lab 3, we took screenshots of various websites. We had to add hyperlinks as text and add a hyperlink to the images. The element tag and attribute for a hyperlink is a href. To add a hyperlink to one of your images, the tag a href must be added right before the image you inserted. If you want to add a hyperlink as the text, you would right the tag a href first and then type in the text. | The Lessons before Lab 4 introduced us to how we can make different shades of color using binary or hex code. In lab 4, we learned how to make a table and different colors in HTML. We were taught the tags used to create a column, a row, and to add information. We were allowed to pick 15 colors, including the color's name, hexadecimal, RGB, and provide the color's hue. We continued this process until the information on all 15 colors in were in the table. |
| Lab 5 List, Inside Tables | Lab 6 Favicon | Lab 7 Homepage |
|---|---|---|
| Lab 5 was for us to create ordered and unordered lists in a table. An ordered list(use numbers) and an unordered list (use bullet points) We had to list our favorite foods, movies, favorite subjects, least favorite subjects, favorite music, and a grocery shopping list using the different list types we were taught. In addition we had to add color to our table. | For lab 6, we used Photopea to create a banner and Favicon. The big version of the Favicon was created in Google sheets. We decorated the lab by using background colors and fonts. We then put the Favicon in the tab with the code (link rel= type= href=). The rel is what we are inserting. Type is what type of image we are puting and href is the name of the specific file. After we created and inserted our Favicons and banners, we wrote a paragraph answering the questions. | Today, In Lab 7, we will be designing a website. We have a group website, and we will design a group page, which is the home page. Here we will have a banner, a heading with our name, a picture of the group members, and a paragraph introducing the group member. On the home page, there will be something that will give the viewer access to our pages, which introduces the pairing members more in-depth. The individual pages will tell the viewer about our journey as web developers. |